
Cosmetic blister packaging can hold a small trial item in a defined position so the recipient can see it and remove it in a planned sequence. A kit might contain applicators, miniature closed containers or several small accessories. Each piece needs its own fit and access review. Start by establishing which items the cavity physically holds and whether any cosmetic formula will directly contact the pack.
Dachuan Packaging’s catalog photos show molded cavities and connected formats for discussion. A useful buying brief goes further by identifying the components, their dimensions and the handling path from assembly to first use. Use these eight checks to evaluate a proposal for a trial kit without treating a photo as a technical drawing.
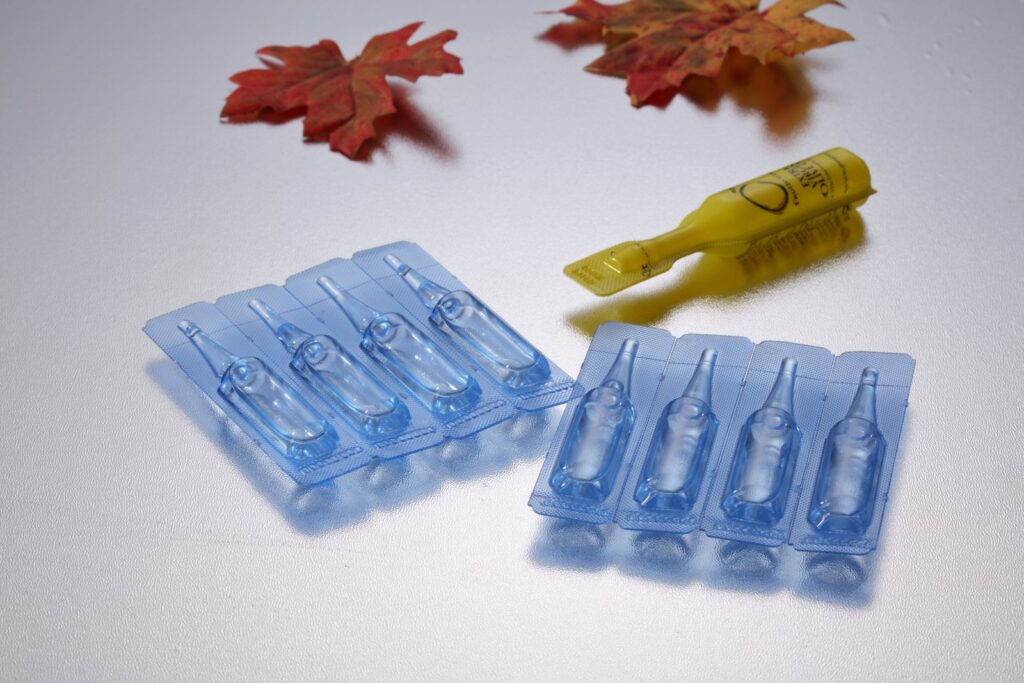
1. Cosmetic Blister Packaging Starts with the Components
Make a list of everything the pack must hold. Record the item revision, relevant dimensions and orientation. Include protrusions such as a cap rim, brush tip or handle. If there are several suppliers for the item, ask the product team which dimensions vary and how those differences should be represented in the trial.
Give the packaging supplier real components where possible. Empty miniature containers may help establish geometry, but filled production samples can give a more representative impression of mass and how the pack is handled. Distinguish what a cavity supports from what a card or cover has to hold in place. That division of work affects how the cavity is formed, how the pack is closed and how a user should remove the item.
2. Choose a Cavity That Locates the Item
Ask the supplier to show where the component rests and what limits movement. A close outline can present a miniature well while leaving little room to insert or remove it. A more open cavity can make access easier, but the part may shift if the surrounding closure does not support the intended position. Compare designs with the part placed as it will be during assembly.
Consider natural variation in the component. Fit should be assessed with parts representing the agreed size range, including any labels, overwrap or protection used in the final kit. Observe whether insertion requires force, whether the component seats consistently, and whether it can come free when the pack is tilted. Keep the sample and item identifiers together for every evaluation.
3. Decide What the Cover or Backing Needs to Do
Define whether the construction should keep the item visible, carry print, guide opening, or provide support when the pack is handled. Discuss the proposed formed piece and its backing or closing arrangement together. Ask the supplier to identify which edges and surfaces are relevant to closing and how those areas will be checked.
Work with the packer to review the order of operations. A cavity can be easy to load on a bench and still make a backing difficult to align at assembly. Check representative production samples for seated items, consistent closing and a readable pack orientation. If the kit needs a hanging feature or must fit in a gift carton, review those requirements at the same time. Changes to the pack outline can affect both.
4. Distinguish an Enclosed Item from a Formula in Direct Contact
Define whether the blister carries an item in its own closed container or whether the formula touches the formed cavity, backing or closure. A closed miniature and a directly filled pocket require different questions for the product team and the supplier. Record which situation applies to each cavity if the kit combines several components.
For direct contact, provide the proposed formula and contact conditions to the responsible technical team. Ask for documentation and a relevant suitability plan covering the proposed construction. Include closing and storage assumptions. A visual match to a catalog format provides a starting point for shape. Product contact, opening behavior and any required protection should be evaluated for the specific item before the team releases the packaging.
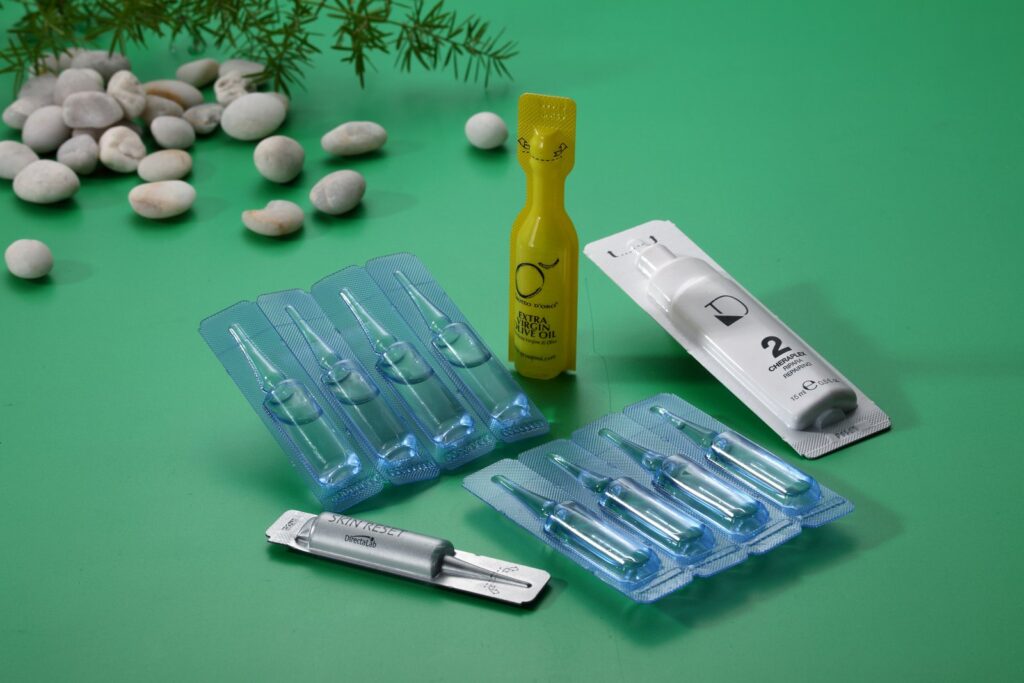
5. Let the Recipient Remove the Item in the Intended Order
Identify what the user should do first. A two-item kit could ask the user to remove an applicator before opening a small trial container. Locate the grip or lift point so that sequence is easy to understand. Check whether the pack can be supported on a surface, or whether users are likely to hold it in one hand.
Observe people opening representative packs using the actual instructions. Notice whether they press a flexible part unexpectedly, touch a delicate surface, or lose control of a small item when it releases. If a cavity is revised for easier access, check whether the revised shape still keeps the item in position during handling. Record each revision with the closure and opening arrangement that was tested.
6. Design the Card and Display Together
Use the intended front and back views when placing product names and instructions. A raised clear area can interrupt a design or hide part of an image from certain angles. An object may also rotate during handling and cover text that was readable when the kit was first assembled. Review a physical example at actual size and in the orientation customers will see.
If several items look similar, ask a reviewer to match each instruction to the correct cavity. Labels, numbering and nearby illustrations can help if they align with the actual order. Show safe print and closing areas on the drawing supplied by the packaging team. Keep the item names and artwork versions in the approval record, especially where a single cavity shape can carry several sample variants.
7. Assess Assembly and Delivery with a Complete Kit
Ask the assembly team to prepare a representative run of complete kits. Observe where parts are confused, tilted, left proud of the cavity or difficult to inspect after closure. If a component can be loaded backward, identify how the team will catch that before the kit goes into its outer pack.
Check the assembled kit after handling in its intended distribution configuration. Include any mailer, retail carton or display arrangement relevant to the order. Inspect the component, its location in the cavity, the closing surfaces and visible artwork. Record visible marks and displacement separately from actual damage to the item. Compare each observation with the agreed acceptance criteria before deciding whether to revise the cavity, backing or assembly process.
8. Document the Release for Future Sample Variants
Collect the latest drawings, item references, closing method, artwork and approval samples. Name the person or team responsible for reviewing changes. Record the shipping or display arrangement that was actually evaluated. When a new trial component is added, compare its dimensions, shape and mass to the approved set and identify which observations should be repeated.
Keep clear records for variants that use the same tooling but different print or contents. The next buyer should be able to request the right pack by reference and match it to the intended item during assembly. That record is particularly useful when cosmetic blister packaging has more than one cavity and an artwork revision affects only one position. Include a photograph of the approved assembled kit if it helps show placement.
Example: A Miniature Applicator and Closed Sample Pod
Imagine a brand that wants a trial kit containing a miniature applicator and a sealed sample pod. The applicator has a narrow handle and a tip that the brand wants users to avoid touching. The pod needs to remain easy to identify next to the instructions. Two prototype cavity layouts are compared with the same parts and backing.
Reviewers assemble both layouts, place the packs into the proposed mailer and try the intended removal order. They record whether the handle is accessible and whether the pod shifts enough to hide an instruction. The approved layout ties each item to a cavity, marks where the user should grip it and records the exact sample versions reviewed. These details also make it easier to evaluate a replacement applicator later.
Cosmetic Blister Packaging approval checklist
| Stage | Record | Evidence or decision |
|---|---|---|
| Components | Item revisions, dimensions and orientation | Range of parts used for the cavity fit checks |
| Construction | Formed cavities, closure and contact conditions | Supplier drawing and suitability review scope |
| Use | Removal sequence and reachable grip points | Approval samples and observed opening behavior |
| Assembly | Packing sequence, card and mailer | Approved position and orientation of each kit component |
Cosmetic Blister Packaging FAQs
Can one blister hold several trial items?
Yes. Review each cavity, its access and the complete assembly. Check whether the order of removal affects another item.
Should an early fit sample use the finished components?
Use representative components whenever possible. Include labels and features that affect fit, and confirm the size range relevant to release.
How can a buyer compare closure designs?
Ask the supplier for a clear construction description and compare representative closed samples against the intended assembly, handling and opening criteria.
What should be sent with a quotation request?
Share component dimensions, item samples, contact conditions, intended quantities, display and delivery arrangements, and the planned opening sequence.
Technical references for the relevant checks: FDA cosmetic labeling resources for the U.S. market.
Read the guide to planning custom shapes for cosmetic samples and see the Dachuan Packaging catalog for format references. When requesting a proposal, send your product, dimensions, order quantity and the production questions you want to resolve to the Dachuan Packaging team in Shantou.