
Pouch size guide decisions should start with the contents, fill amount and intended use. Finished dimensions describe an outside format; usable capacity depends on the internal cavity, seals, gusset and other features. A drawing and a filled sample answer different questions, so use both before approving a custom size.
Buyers often begin with a packet photograph or a preferred shelf height. Those references can help communicate presentation, but they leave the technical size question open. This guide follows nine practical checks for turning a visual preference into an agreed drawing and sample. Bring the packaging supplier, product team and filler into the discussion early enough to evaluate capacity and handling together.
1. Pouch Size Guide: Start with the Contents
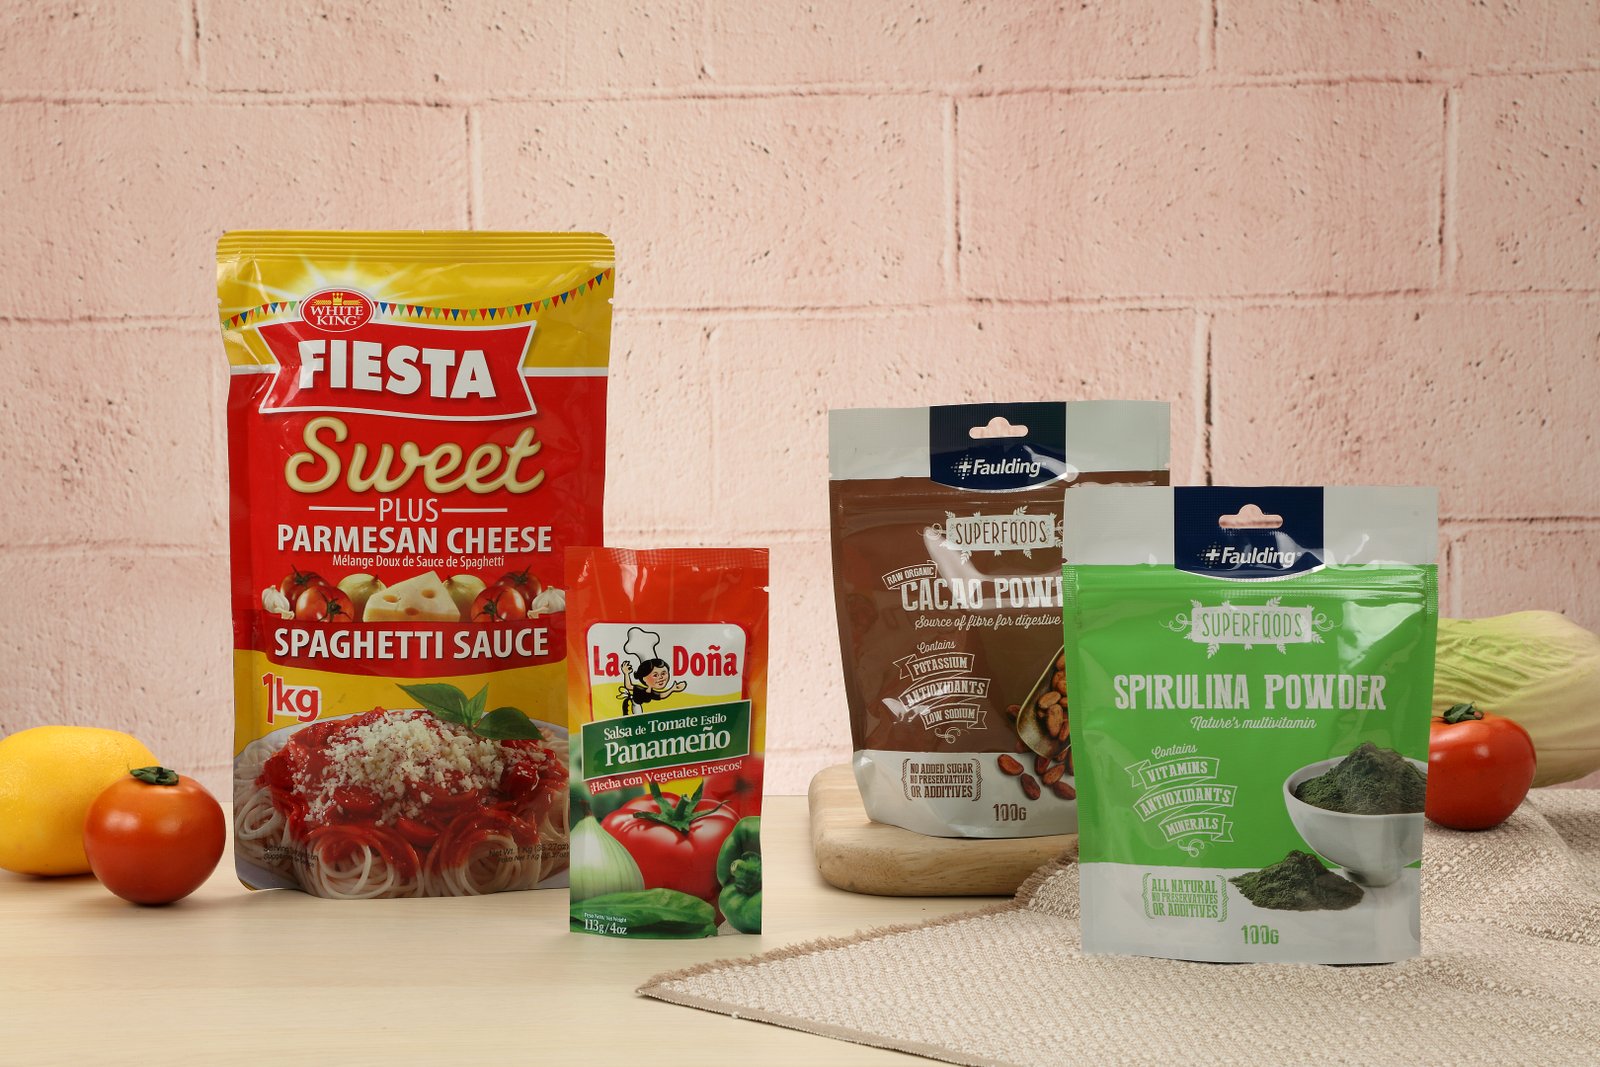
Specify the contents and intended fill amount before selecting finished dimensions. Explain whether the product is a powder, granule, liquid, paste or an item placed inside the pack. Describe any features of the filling or use process that affect the space required.
For a powder, weight does not establish volume without considering the product itself. For a liquid, nominal volume does not describe the complete filling and handling requirement. A representative sample provides better evidence than a conversion based on another product. Keep the product version and target fill amount recorded with the size proposal so later discussions do not mix observations from different contents.
2. Confirm What the Dimensions Describe
Ask whether the quoted width and height refer to the finished pack, an internal measurement or a film layout. If a gusset is involved, confirm its measurement convention and show it on the drawing. Compare quotations only after these definitions are clear.
A brief with a single unexplained set of numbers can lead two suppliers to propose different constructions. Request a labeled drawing rather than resolving the difference through email shorthand. Include orientation, opening and relevant features. This pouch size guide treats measurement agreement as the first dimensional approval, because capacity calculations and artwork placement become less useful when the teams are measuring different parts of the package.
3. Identify the Product Cavity
Separate the overall outline from the space available to the contents. Seals, curves, closures and fitments can reduce or reshape that space. Ask the supplier to identify the intended product cavity on the proposal instead of estimating it from the front-panel artwork.
Check any narrow areas or changes of shape against the intended filling and dispensing route. A distinctive outline can look larger than its usable space suggests. Review the proposed cavity with the filler and agree which physical sample will be used. Keep the finished drawing and the cavity discussion together so a later visual redesign does not inadvertently remove space required by the product.
4. Allow for Filling and Closure
Discuss how the contents enter the pack and how the final closure is made. Equipment access, product flow and the need for a suitable seal area can influence the size proposal. Involve the line operator rather than treating the filling opening as an abstract dimension.
During a trial, document the target fill amount and the condition of the closing area. Review whether the sample can be held and presented consistently on the intended equipment. Empty-pouch capacity demonstrations do not cover those process questions. A practical pouch size guide connects geometry with the actual operation, so changes to machinery or the filling route should trigger a review of the dimensional assumptions.
5. Evaluate the Gusset in the Filled State
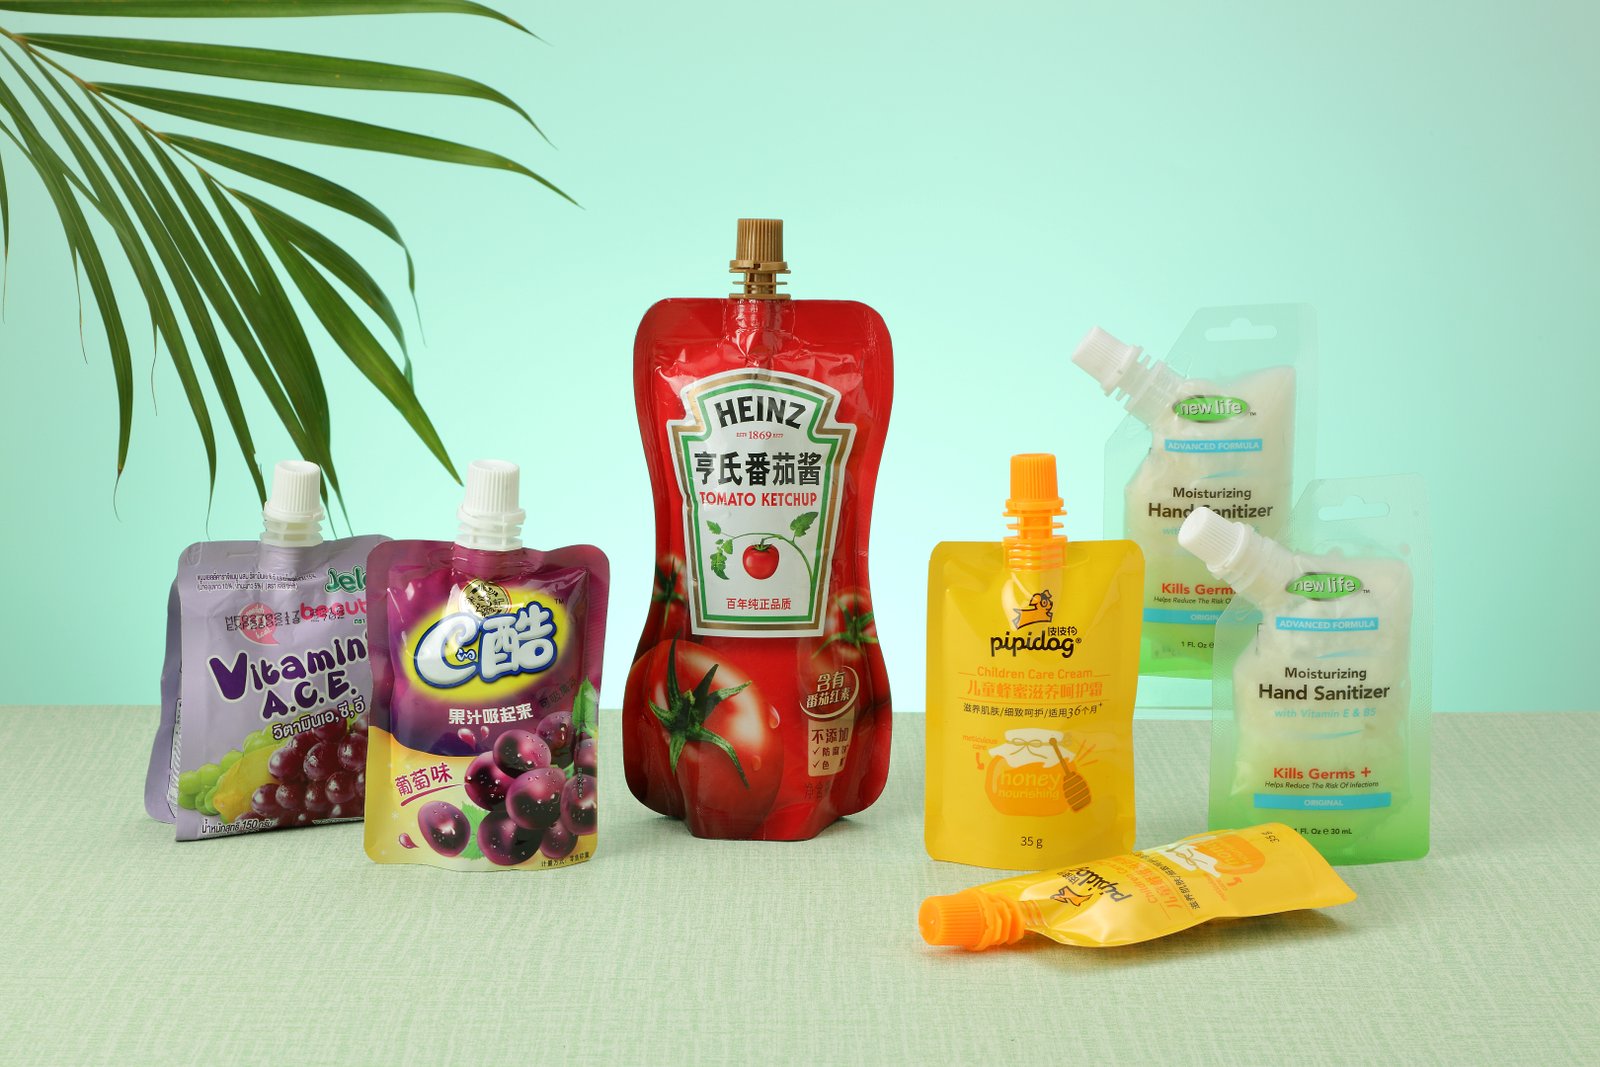
Where a standing construction is proposed, inspect how the selected base opens and supports the filled pack. Outside width and height alone do not describe standing behavior. Use the intended contents and a representative fill amount when observing the base.
Check the sample on the surfaces relevant to its display or use. Record its shape, support and handling instead of assuming every bottom gusset produces the same result. A gusset dimension should be approved as part of the full drawing. If it changes, consider the effect on product space, artwork and packing as well as appearance. A photograph can illustrate the format, but it cannot establish performance for the new size.
6. Test Opening and Product Removal
The user must have enough access to open the pack and remove the intended contents. Evaluate grip, tear initiation, closure placement and any dispensing feature using filled samples. Review the sequence with the actual product or item instead of an easier substitute.
A size that accommodates the contents may still make removal awkward. For example, a folded item needs an access path as well as an internal space. Observe where hands contact the pack and which instructions remain visible. Use those findings to refine the dimensions and opening together. This is a distinct approval question from whether the pack simply holds the target quantity without overflowing.
7. Check Artwork at the Approved Size
Obtain the correct production dieline once the structural proposal is sufficiently defined. Review product text, variant information, coding areas and barcodes at actual printed size. The available artwork space may be smaller than the full front-panel dimensions.
Keep critical copy clear of the supplier’s seal, cut and fold areas. If the size changes, request an updated template and check the layout again rather than scaling every element automatically. A smaller pouch can require editorial choices about information hierarchy. The responsible product team should approve the wording while the printer confirms file preparation requirements. Both reviews belong in the size release record.
8. Review Shelf and Shipping Fit
Evaluate the filled pack in its intended retail, storage or distribution arrangement. Check shelf clearance, carton fit and the quantity in an outer unit. These observations may reveal a different practical constraint from the one that first prompted the size request.
Do not select the final size solely to fill a carton efficiently before the product and handling requirements are understood. Discuss tradeoffs openly and retain the evidence for the chosen compromise. A pouch size guide is most useful when the team can explain why the approved dimensions work for contents, equipment, users and the outer arrangement, rather than optimizing one photograph or one isolated measurement.
9. Save a Dimensioned Approval Baseline
Release the drawing with its measurement convention, material proposal, product reference, fill amount, opening and sample identifier. Record the approved revision and the responsible approvers. Keep unresolved questions visible until they have been answered.
For repeat orders, compare the request with this baseline and ask the supplier to identify any proposed change. A different formula, folded component or filling line can affect the size requirement even when the nominal quantity is unchanged. Use the same pouch size guide questions to decide what needs reevaluation. That approach makes size approval traceable and avoids replacing a documented specification with a familiar catalog code alone.
A practical planning example
Consider an illustrative powder brief that begins with a target weight and a preferred shelf height. The buyer asks for a drawing but leaves the bottom gusset undefined. A useful response identifies the missing dimension and requests a representative product sample rather than promising a capacity from the outside height alone.
The team fills the proposed sample, observes headspace and closure, then reviews standing behavior and carton fit. If a dimension changes, the approved artwork template is updated at the same time. The process may involve more than one proposal, but each revision answers a specific question. This scenario is an explanation of a sizing review, not a reported customer outcome.
Save the fill amount, product version, drawing and physical sample reference together. A repeat purchase can then use the same pouch size guide baseline instead of reconstructing the decision from an image or an old quotation with unexplained measurements.
Pouch Size Guide decision record
| Record | What to identify | Decision to capture |
|---|---|---|
| Product | Contents, version and intended quantity | Requirements confirmed by the product team |
| Package | Drawing, construction and opening | Approved specification and sample reference |
| Process | Filling, closing and handling conditions | Relevant trials and unresolved questions |
| Release | Artwork, quantities and commercial scope | Named approvers and current revision |
Pouch Size Guide FAQs
Can pouch capacity be read from width and height alone?
No. Usable space also depends on the construction, seals, gusset, closure and contents. Confirm the drawing and evaluate relevant filled samples.
Should finished dimensions and film dimensions match?
They describe different references. Ask the supplier to label the measurement convention clearly rather than treating the numbers as interchangeable.
Does a larger gusset always improve the pouch?
Not automatically. Evaluate the complete filled shape, standing behavior, handling, artwork and packing arrangement for the intended application.
What belongs in a size approval record?
Include the dimensioned drawing, measurement convention, product and fill amount, construction, opening, sample revision and relevant trial observations.
Plan your next packaging discussion
Dachuan Packaging is based in Shantou, Guangdong, China. Share the product, intended format, fill amount, quantity and filling requirements through our packaging inquiry page. Include the decisions that still need supplier input so the team can discuss a relevant proposal and sampling route.
Continue with our related packaging planning guide, or browse the product catalog for visual references. For barcode planning, see GS1 Canada’s barcode guidance; for the role of seal-strength evaluation, see ASTM’s F88/F88M overview. Match external guidance to the actual application with the responsible technical team.