
Packaging registration marks give a compatible machine a reference associated with each repeat of printed film. A correctly positioned mark can still be difficult to detect if the background changes or if the film is presented to a different sensor. A readable mark can also produce a misplaced cut when the repeat, orientation or offset in the drawing is wrong. Treat detection and alignment as two separate checks.
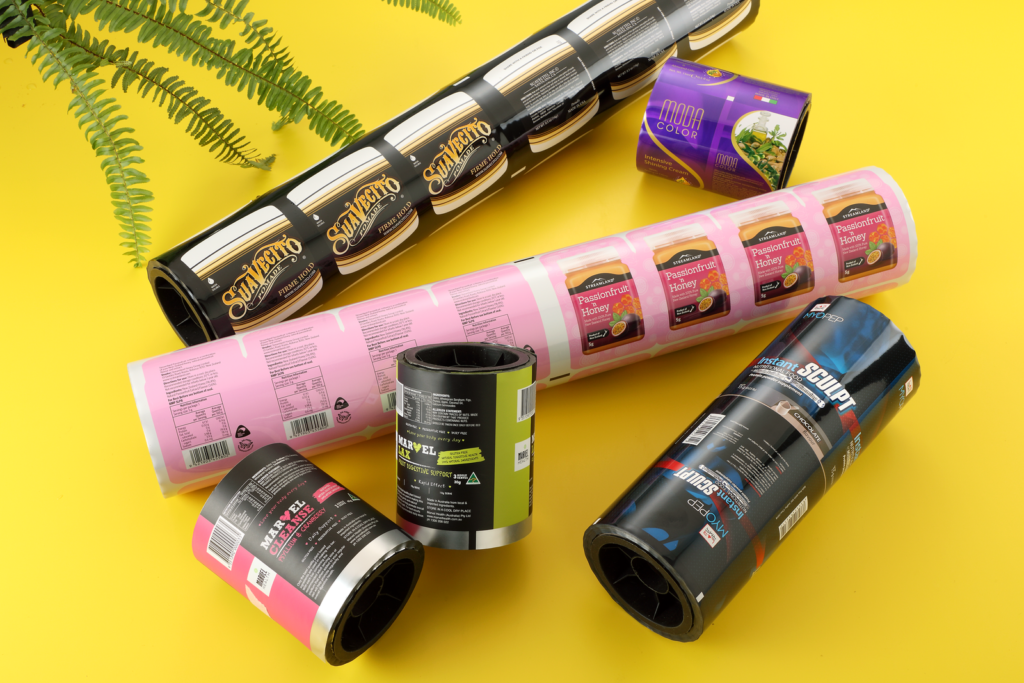
This guide is for print buyers, designers and line teams preparing roll film for an existing packaging machine. The catalog photos show repeat artwork on film. Review the actual machine drawing and supplier proposal before approving any mark on a production file.

1. Packaging Registration Marks Start with the Machine
Ask the line owner to confirm the intended machine and registration arrangement. Identify the sensor type, which side of the web it reads, and the surface it sees as the film runs. If similar designs will run on several lines, compare their requirements before choosing a shared artwork layout. Keep the line and machine reference in the brief.
Request the relevant part of the machine drawing or an approved marked reel example. An earlier file can be useful if the operator confirms the configuration it was designed for. Write down which requirements came from the line team and which remain to be confirmed. This helps the printer resolve conflicting drawings before the first reel is made, especially when there are parallel converting and filling suppliers.
2. Use One Drawing for the Web, Repeat and Cut
Show the direction the web travels and the side viewed by the sensor. Mark the edges, repeat dimension, intended cut or seal position and the mark’s location relative to those references. Use a common origin and clear units. For a film used on several lanes, identify which lane or reference edge applies to the registration setup.
Ask the converter and line owner to review the same revision. Differences in terminology can obscure a simple drawing issue. A printer may measure from the start of an artwork panel, while the operator works from a cut position. Identify both if necessary and show their relationship. Include the finished pack appearance so everyone can see where the printed panel is intended to land.
3. Specify Contrast for the Surface the Sensor Will See
Ask the equipment team how the sensor distinguishes the mark from its background. Review the proposed color pair and surface using representative film. A glossy, transparent or metallic appearance may require a different evaluation from a matte paper proof. Include any finish, coating or underprint that will be present on the production film.
Make sure the operator can inspect a printed sample in its normal orientation. A dark mark on a digital layout does not tell the team how it will be detected on a moving web under the actual sensor setup. Consider the relevant background on both sides of the mark and across planned color variants. Record what was tested so the next artwork change can be reviewed against the same evidence.
4. Keep Competing Artwork Away from the Reading Path
Trace the region of the moving web that passes under the sensor. Review text, decorative bars, pattern edges and changes in background in that area. Ask whether any of those elements could resemble the intended event under the setup used for the line. Where the operator or converter specifies clear space, put it on the drawing and in the artwork template.
Check the entire repeat, including the transition from one repeat to the next. The mark might be easy to see by itself even when a strong graphical transition appears elsewhere in the reading path. Test the final artwork and finish on a representative web. For alternate colors or seasonal layouts, require the same review if the background changes in the marked area.
5. Check the Offset on the Finished Pack
Once the mark can be detected, measure where the process actually cuts or seals relative to the artwork. Keep samples across the planned range of operating conditions. Identify the expected position and the tolerance or acceptance criteria supplied by the responsible team. Document the measurement point so different reviewers measure the same feature.
If the cut lands in the wrong place, separate a consistent offset from intermittent missed or extra detections. The two patterns give the line team different evidence. Compare the measured repeat, film direction and marked drawing before revising the art or setup. Save examples of the issue with the reel reference and time in the trial. These details help distinguish a drawing question from a machine or material question.
6. Include Artwork Variants and Reel Changes
Identify which print variants share the same mark, reading lane and background. If several products run on the same line, test the variants the line team considers most relevant. A successful sample from a light artwork version may not cover a version with a dark block near the mark. Confirm the mark rules with the team releasing the design files.
Ask operators which conditions deserve extra checks. An approved trial may need examples from startup, restart, material change or a splice encountered during normal operation. Follow the line owner’s procedures for those events and note which are covered. Keep the samples linked to the variant, reel and machine setup. The approved version should make it possible to reproduce the conditions later.
7. Record Both the Signal and the Pack Outcome
Give the operator a simple trial sheet with two separate entries. One describes the sensor’s behavior. The other describes the resulting cut, seal or print position. Record which settings and sample references apply. If the line can save a signal trace or image, keep it with a physical sample when that helps the teams compare observations.
Describe repeated events in practical terms. For example, note whether an unexpected detection occurs at a particular graphic within every repeat or whether the print position drifts after restarting. Ask the line and print teams to review the evidence together. A general note that registration failed gives them little basis for deciding whether to revise the artwork, check the material or investigate the setup.
8. Protect the Approved Mark Through Future Artwork Releases
Keep the mark drawing, released artwork and trial record together. Identify who reviews a change to the mark, the reading lane, the material or nearby graphics. A file intended for another line should carry its own version or machine reference. Have the converter check the orientation and repeat on the purchase order against the current approved file.
Write down what can be reused on a repeat order and what triggers a new review. A change in finish, a different sensor or an updated web direction can affect an otherwise familiar design. Packaging registration marks are part of the agreement between printer and line team. Keeping that agreement current reduces the chance that a future change leaves the operator guessing at the reel.
Example: A New Variant with a Darker Background
A buyer releases a new flavor using the same pack size and machine as the original. The proposed art introduces a dark panel that runs into the sensor’s reading lane. The team compares the approved drawing and a trial reel, then observes both the sensor response and the resulting cut position on actual packs.
The converter can review a clear strip or a change to the mark with the line owner. For the revised reel, the operator checks representative operation and records the sample set against the approved drawing. The final release identifies the exact artwork version and the machine for which it was evaluated. That gives the buyer a reference to use when another flavor or finish is added.
Packaging Registration Marks approval checklist
| Stage | Record | Evidence or decision |
|---|---|---|
| Machine | Line, reading side and sensor reference | Approved setup and web direction |
| Layout | Repeat, mark and cut reference | Common drawing origin and dimensions |
| Mark and neighboring graphics | Actual material, finish and tested variants | |
| Trial | Sensor behavior and resulting cut location | Approved samples tied to the reel and operating conditions |
Packaging Registration Marks FAQs
Can one mark design work on every packing line?
Ask each line owner for its requirements. Sensor type, reading side, web direction and cut reference can differ.
Does a strong mark guarantee a correctly positioned cut?
Check detection and finished alignment separately. Confirm repeat, direction and the agreed mark-to-cut reference on actual samples.
Can designers check a mark from a PDF?
A PDF helps review dimensions and artwork placement. Test the detection and resulting pack position using representative printed material on the intended line.
When should a color variant be checked again?
Review any variant that changes the mark, background, nearby graphics or film finish in the sensor’s reading path.
Technical references for the relevant checks: SICK’s example of contrast sensing on printed packaging.
Read the guide to specifying printed roll film and see the Dachuan Packaging catalog for format references. When requesting a proposal, send your product, dimensions, order quantity and the production questions you want to resolve to the Dachuan Packaging team in Shantou.
Browse printed roll film samples and review the details needed for a quote.